
UPDATE: Due to increased, uncontrollable spam, submitting anything other than comments on WonderHowTo and its affiliated network of sites is temporarily closed. Only current and past members who have previously submitted helpful news and guides may be able to submit forum posts.
Any community member may post articles on WonderHowTo and its affiliated network of sites (Gadget Hacks, NextReality, Null Byte).
All user-submitted content will automatically start off in the forum of each section. If a tutorial submitted to a forum is overall awesome (accurate, good grammar, nice pics, helpful, etc.), either the admin of that section or WonderHowTo staff can promote it to a real how-to article, and it might even be featured on WonderHowTo's homepage.
For the most part, the tools for creating an article are pretty intuitive, but just in case you need help, we've got instructions for you below. Just make sure you abide by the Rules for Community Submissions; anything that is plagiarized or spammy will be deleted from our network of sites.
Step 1: Starting a New Post
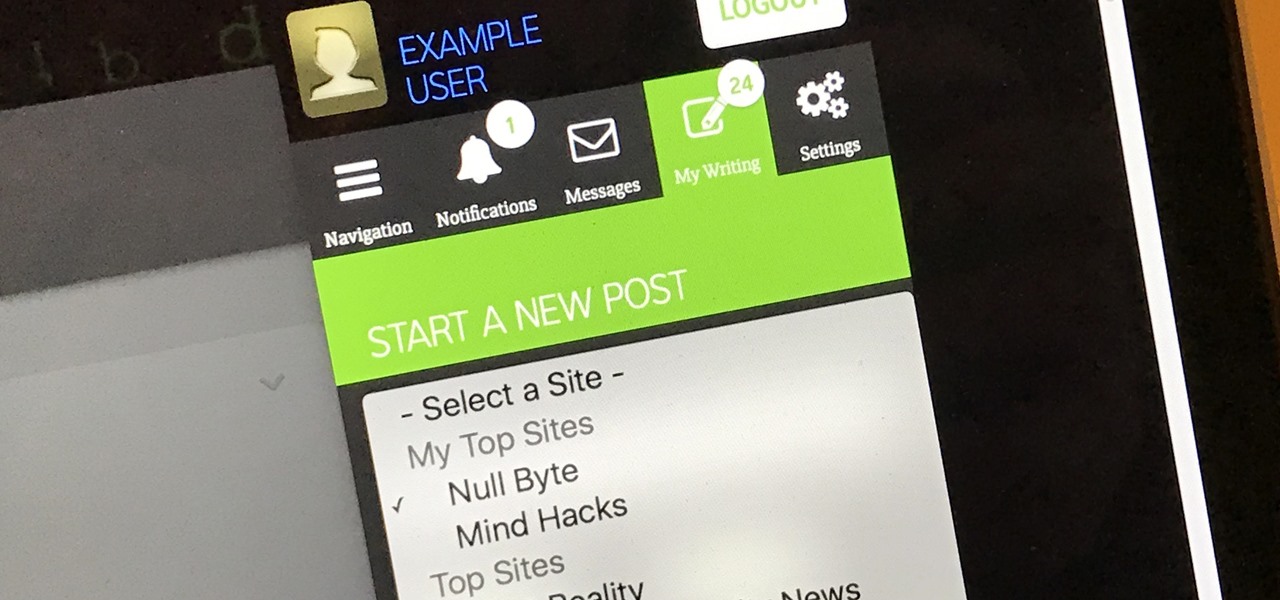
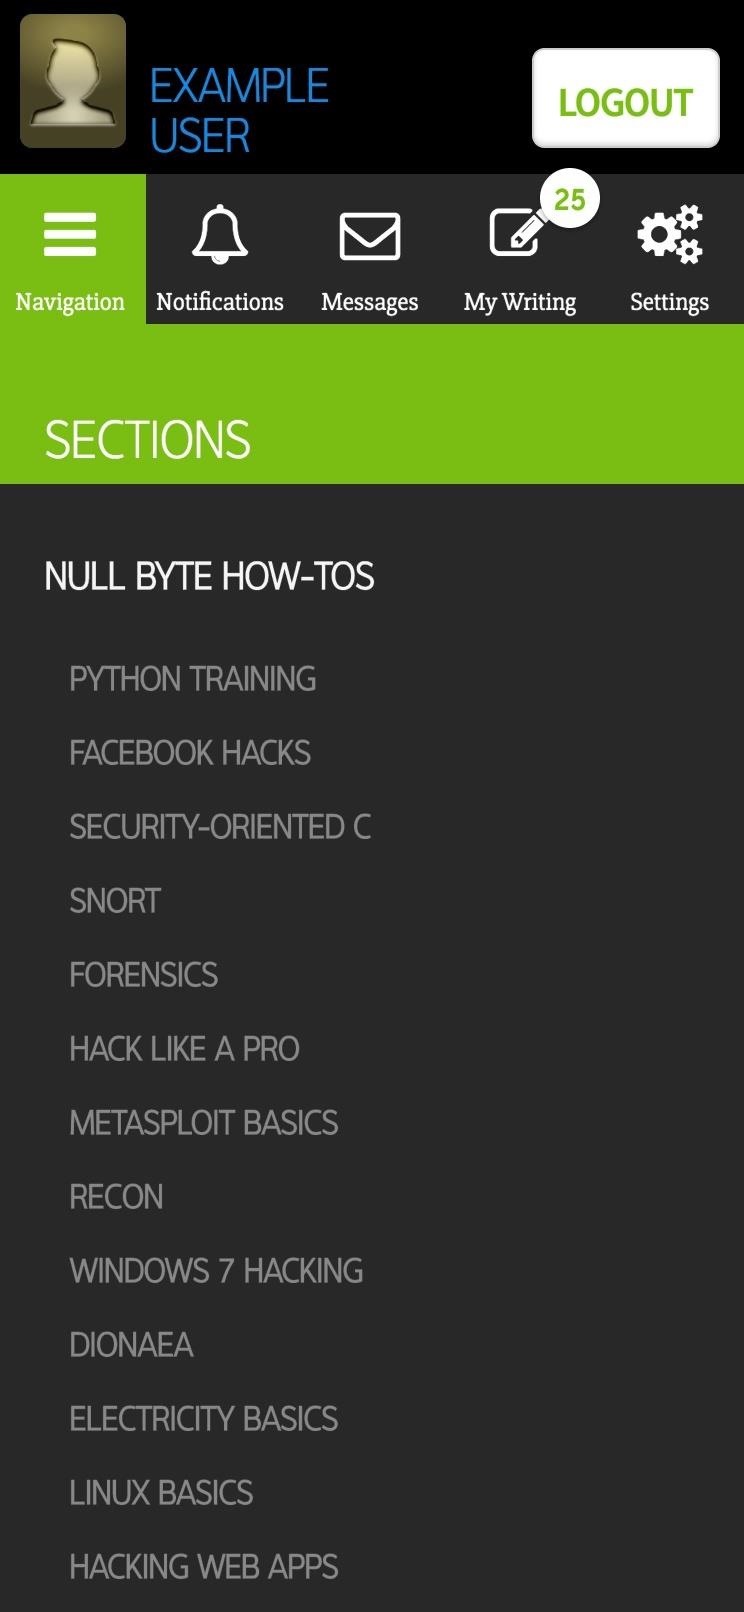
Click on the hamburger menu icon in the top right, which will open the sidebar navigation menu, and make sure you're logged in.

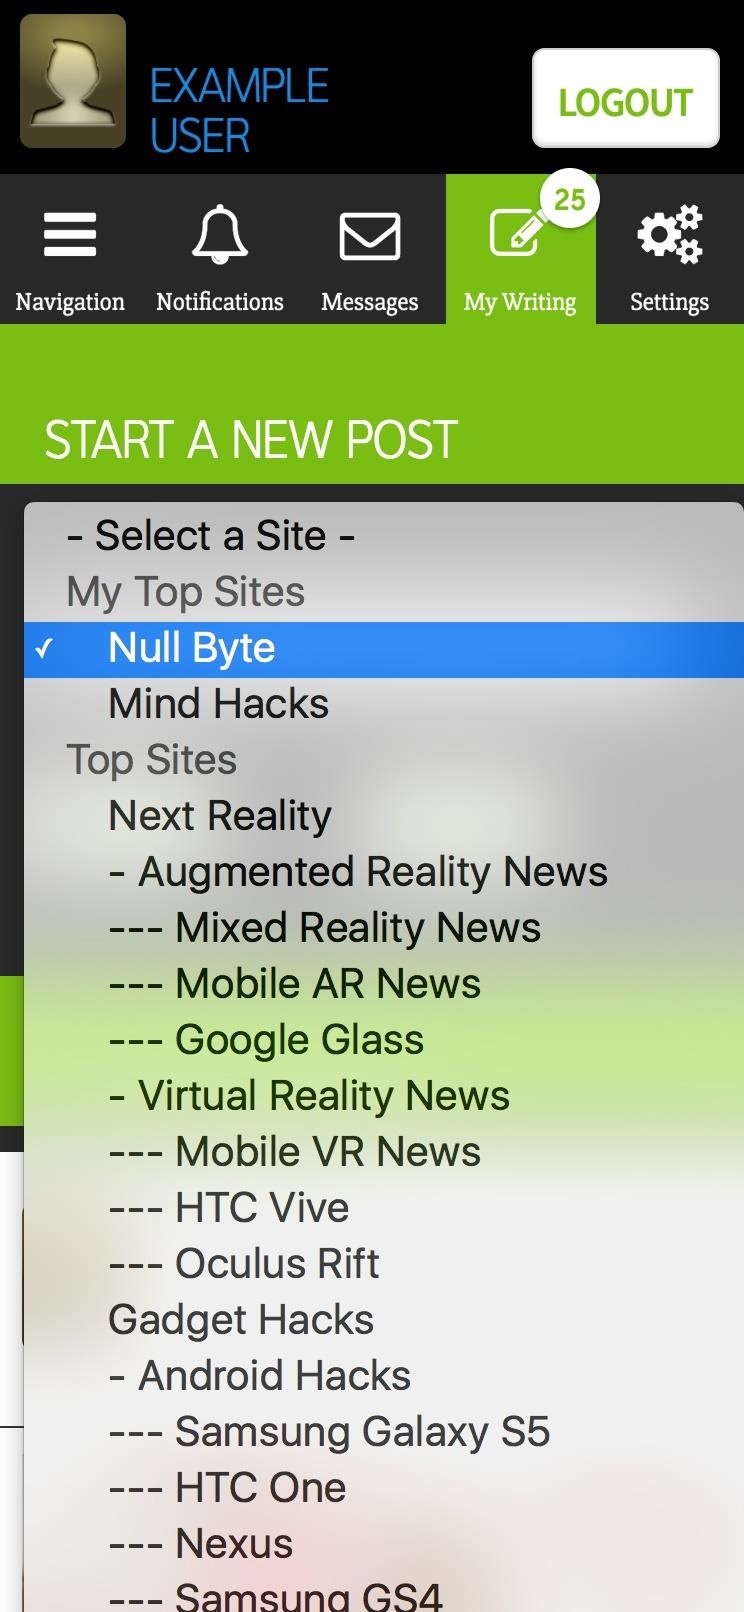
Head to the "My Writing" tab in the sidebar navigation menu, then in the "Post to site" drop-down box, make sure that the section you want to post your forum post or how-to guide to is selected. If you are already in a certain section, it will automatically be selected.
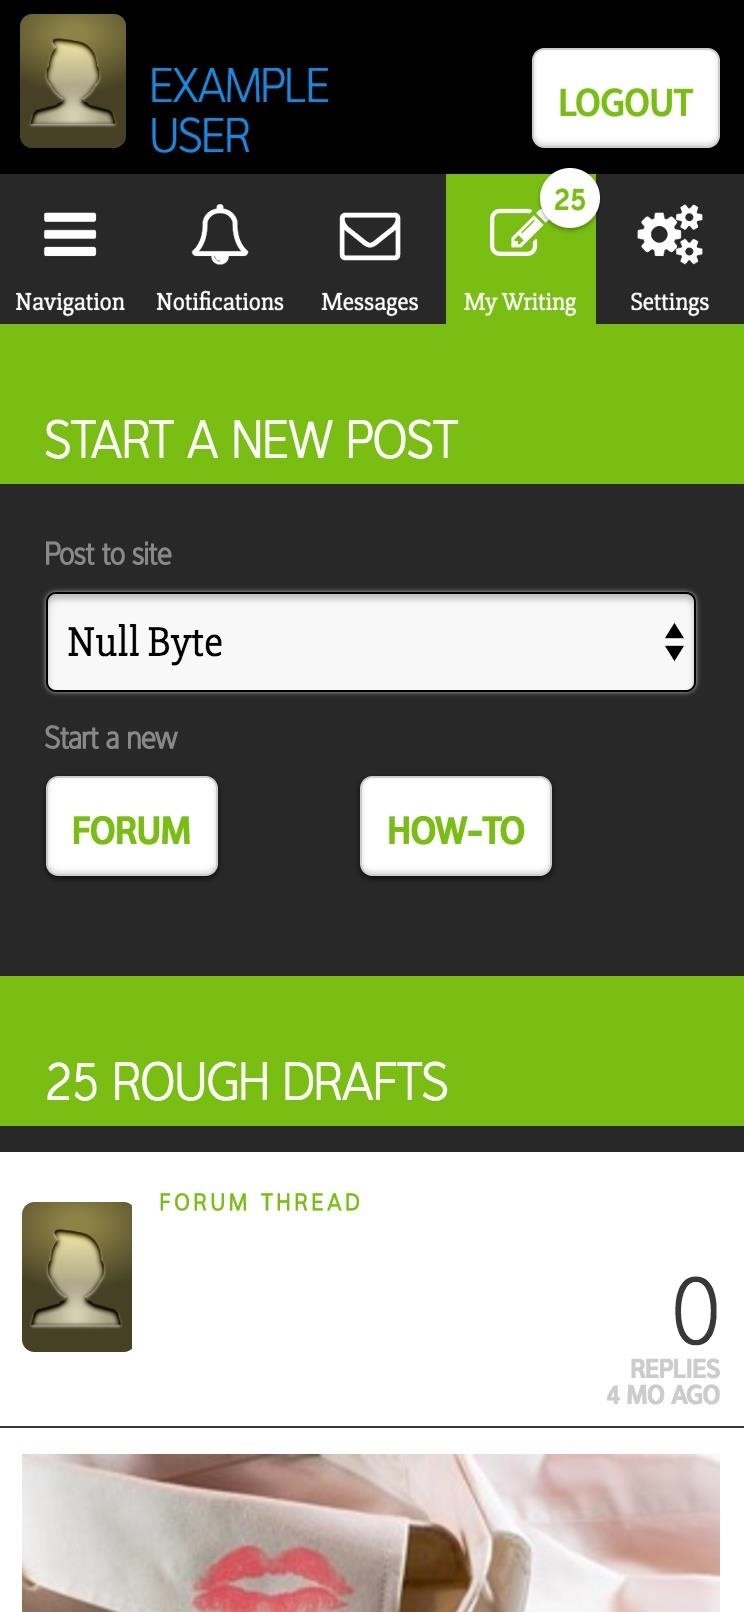
Then just hit the "Forum" or "How-To" button to start a new draft.
Note that you must enter a headline before you can save a draft or publish.
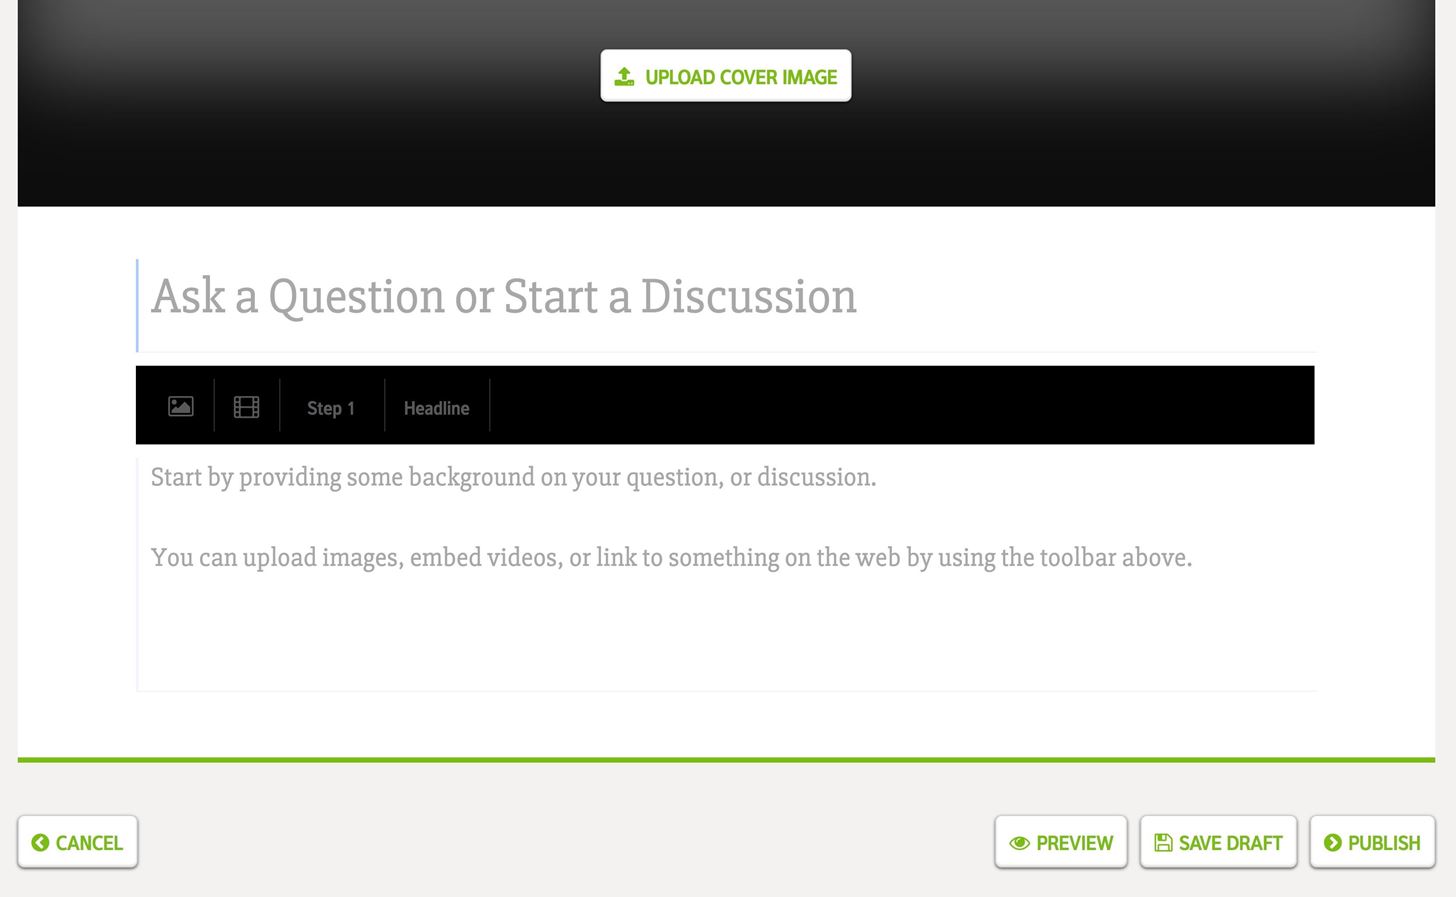
Step 2: Choosing a Good Headline
If you're asking a question, please state a short version of it in the top headline, where it says "Ask a Question or Start a Discussion," then expand with further details in the body of the article. Ending your headline with a question mark (?) is a surefire way to tell other members that you need help.
If you're sharing a tutorial, or some news, use that main spot up top to write a good headline that best describes what you're sharing, then use the body of the article to write your guide.
Step 3: Using the Formatting Tools
When you first click inside the body of the article, a toolbar will appear above, in-between the body and headline.

#1. Bold, Italics & Hyperlinks
You can bold, italicize, and add hyperlinks to text using the B, I, and chain link icon. Just highlight the word or words you want to change, then hit the button in the toolbar. If you prefer markdown, you can use that as well:
- Bold text by surrounding it in asterisks ( *bold* )
- Italicize text by surround it in underscores ( _italicize_ )
- Hyperlink format: [http://url.com words to hyperlink]
You can also bold, italicize, and make hyperlinks using keyboard shortcuts:
- Command/Control + B for bold
- Command/Control + I for italics
- Command/Control + K for links
Since, as you can see, we use asterisks, underscores, and brackets to add special abilities to text, you'll need to treat regular asterisks, underscores, and brackets differently if you want them in your text. To create one of these symbols, just double it, as seen below.
- Create an asterisk by using two in a row (** = *)
- Create an underscore by using two in a row (__ = _)
- Create a bracket by using two in a row ( [[ = [ and ]] = ] )
#2. Block Quotes
The quotation mark symbol in the formatting toolbar lets you add quotations that stand out. Just select it, paste the quote into the box, then add the person/site's name for credit, as well as a link to where the quote appears, if necessary.

If done right, it should look like this when previewed or published:
Past research has also shown that people whose diets were lower in fruits and vegetables had fewer different types of bacteria in their gut than people who ate more fruits and vegetables. A less diverse gut microbiome is less healthy.
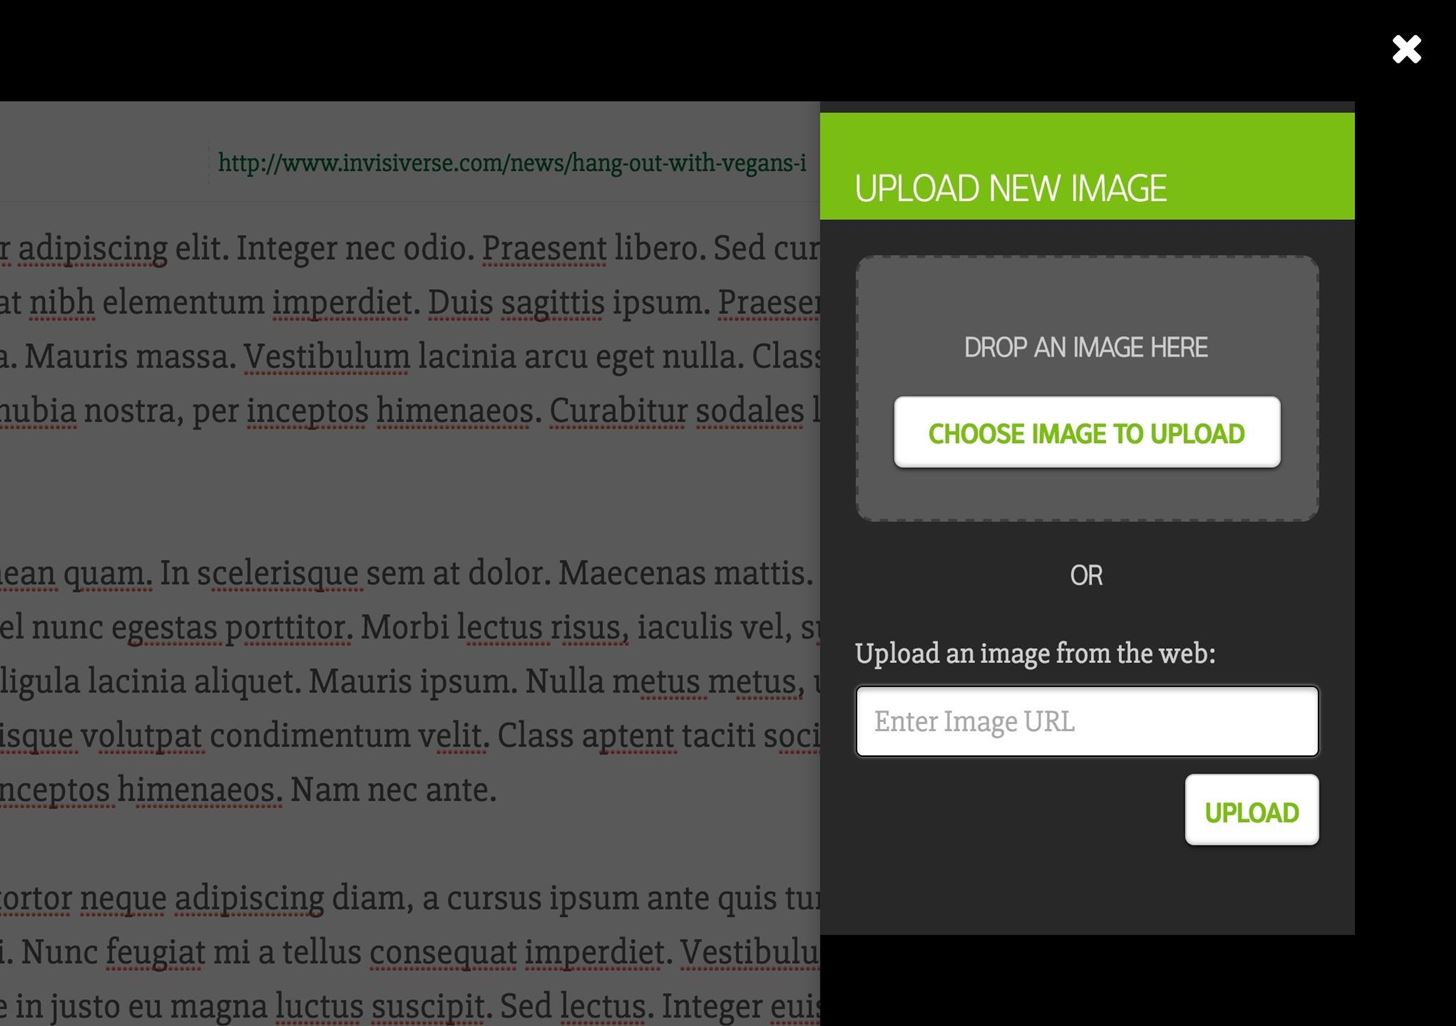
#3. Images
You can add photos using the formatting toolbar via the photo icon. The sidebar will pop up, and you can choose from images on your computer or use an image online. Just note that there is a 10 MB max file size, so it cannot exceed that size, no matter which method you choose.
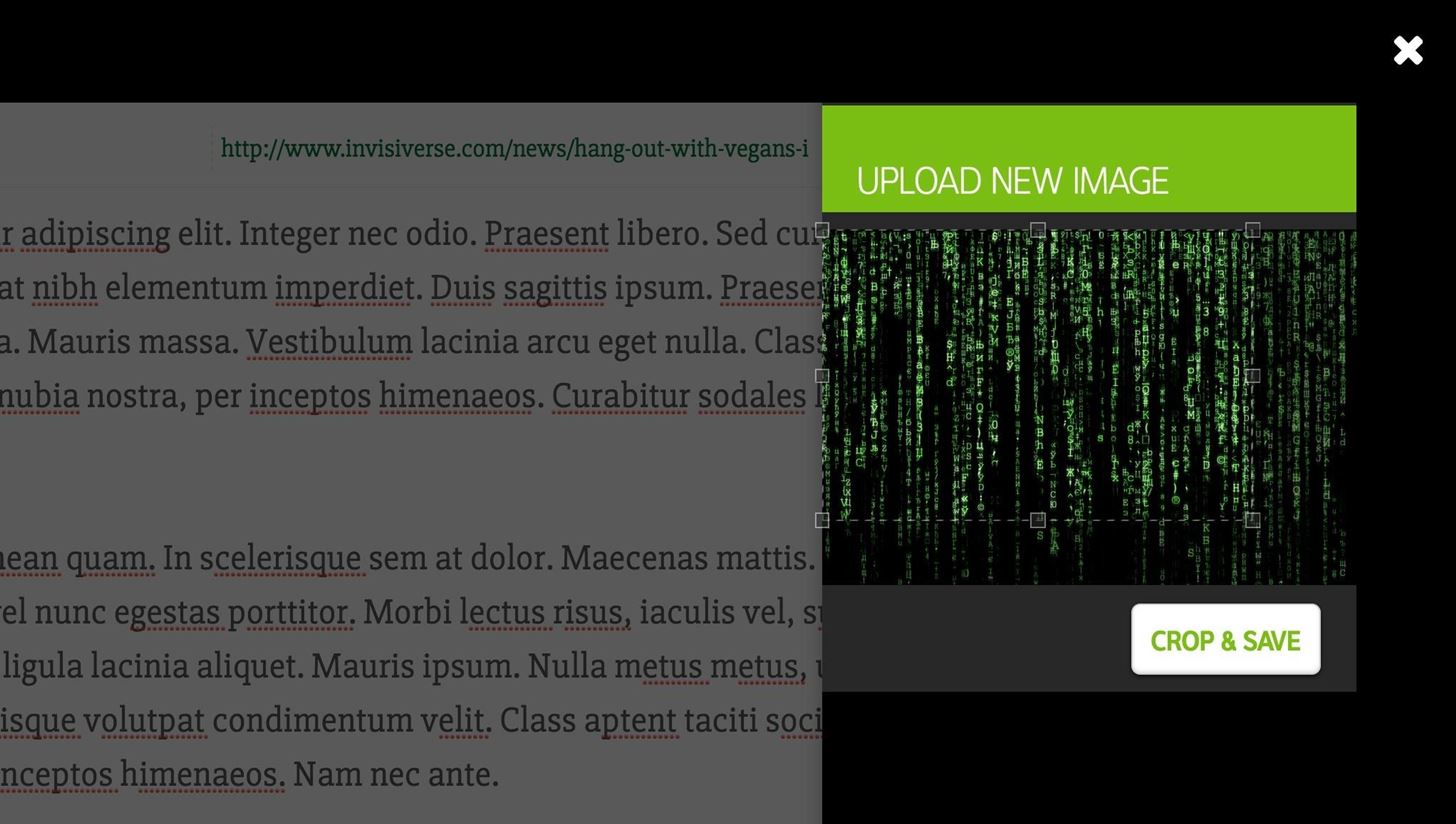
You'll have a chance to crop the image before you finalize the upload. When done, hit "Crop & Save."
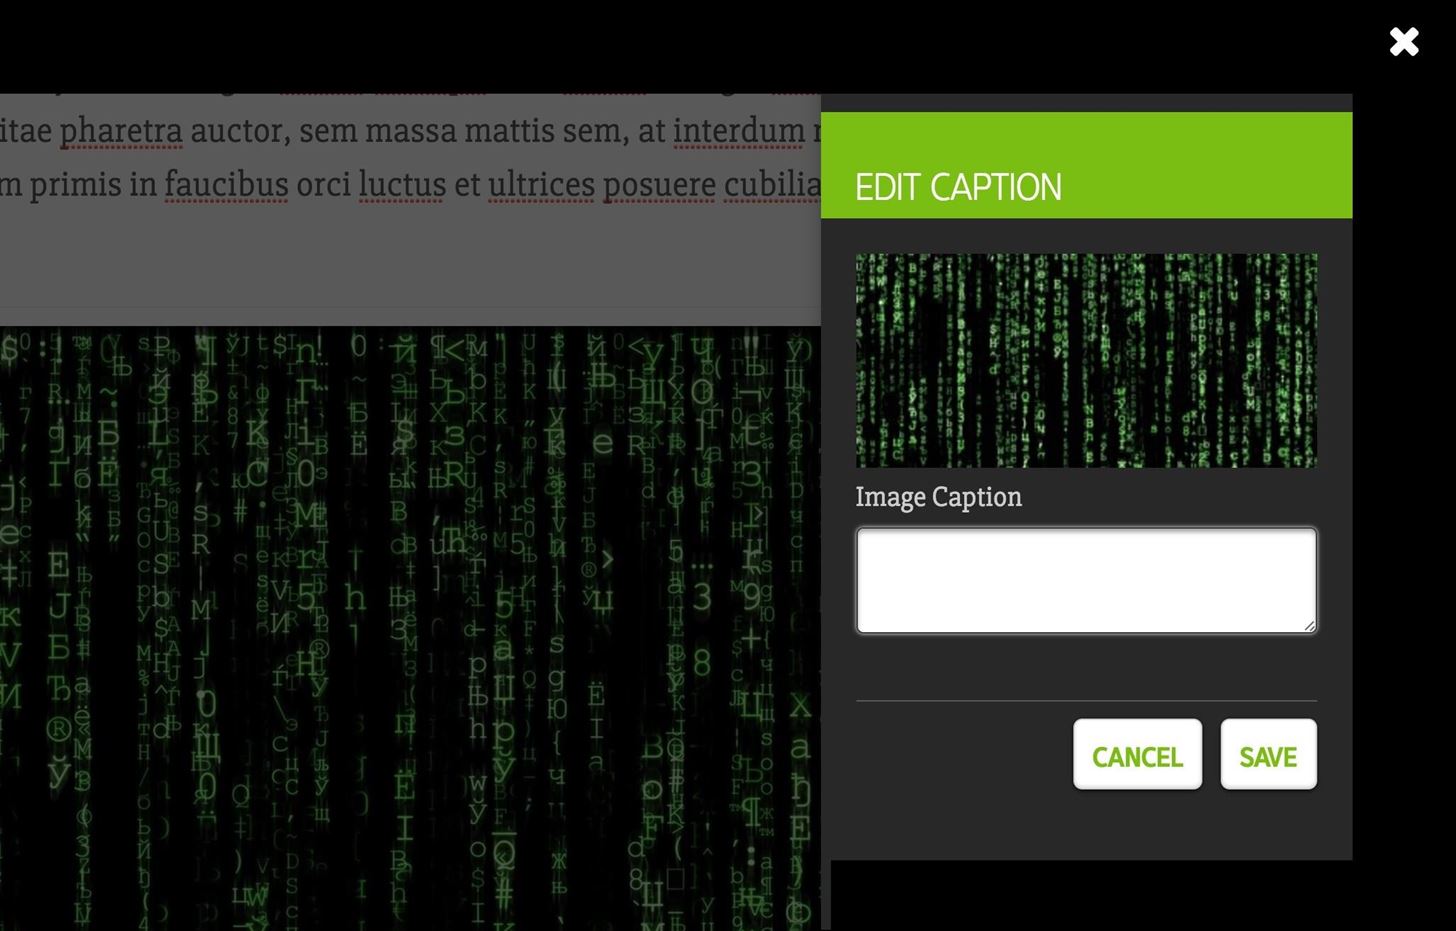
To add a caption for the photo, find the downward-facing arrow icon near the top-left of the uploaded image. Hover over it until a cog appears, select it, then choose "Edit Image Caption."


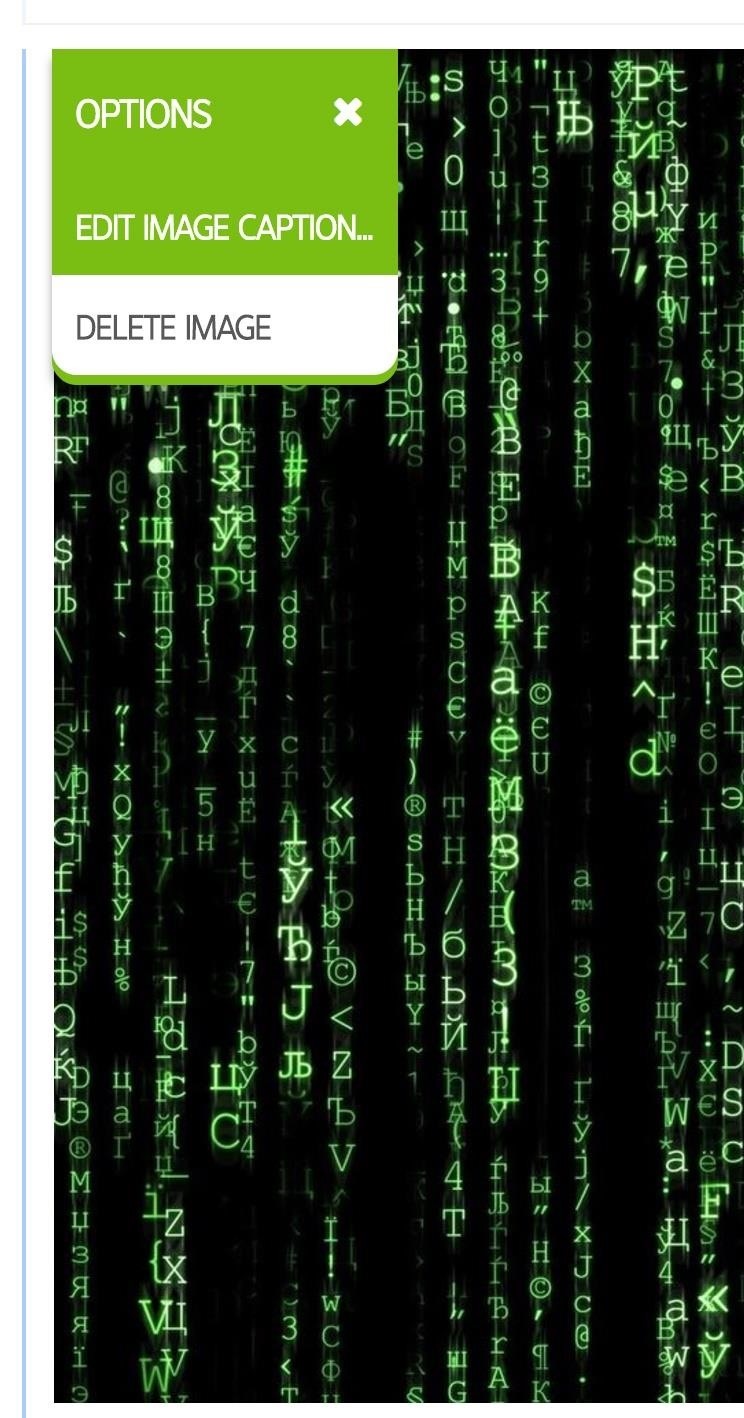
This will open the sidebar where you can insert a caption, which will appear directly under the photo. Just don't forget to hit "Save." Clicking away from the box will close it without saving.
To add one or more images to gallery, just select the first image that you already uploaded, and the formatting toolbar will change to show a photo and filmstrip icon only. Select the photo icon to add another image, the repeat for more images.

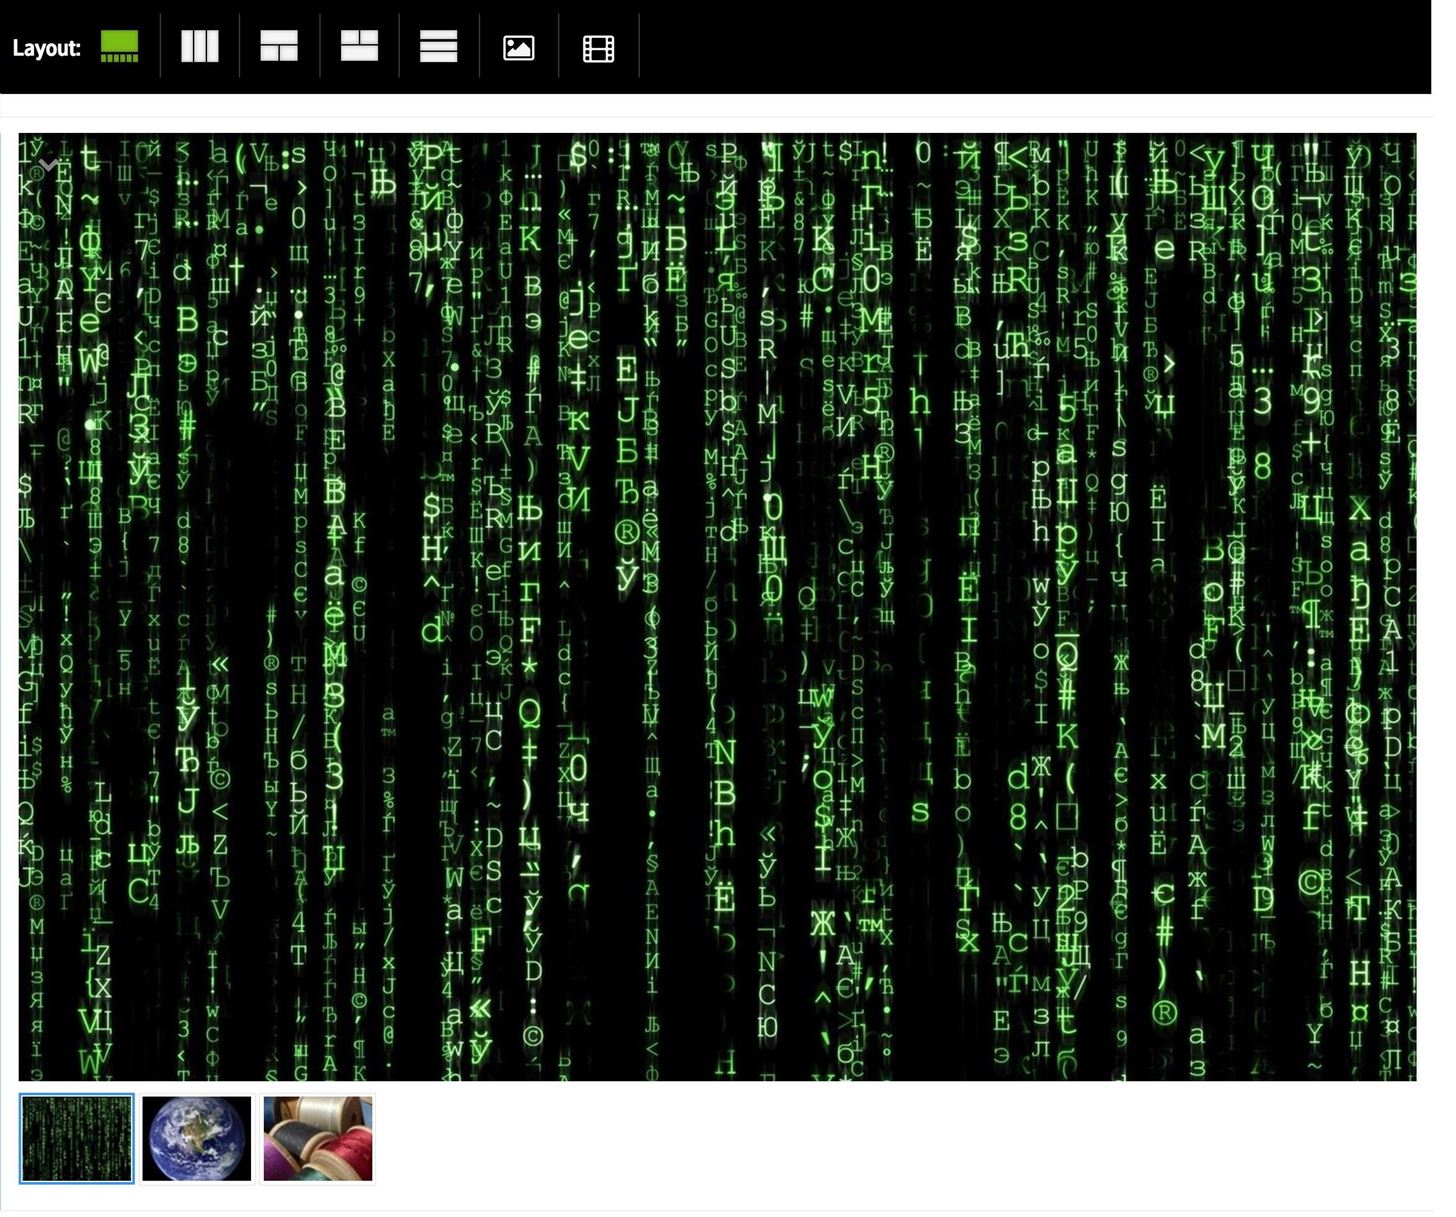
Once you have two or more images in your gallery, you can choose how it displays in the article, using the updated toolbar. By default, it will go with the thumbnail layout, where you have to select a thumbnail to view the bigger image. But you can also choose side-by-side, in succession, or another type of view.
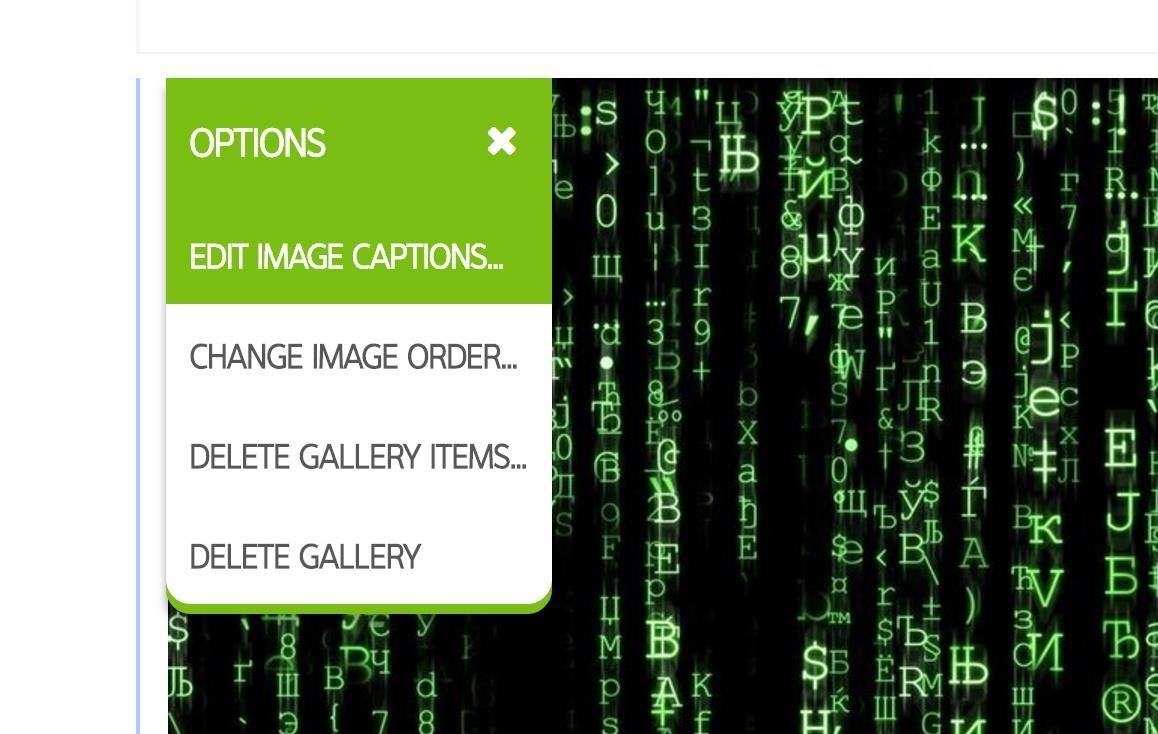
If you need to add more captions, you can revisit the sidebar menu for captions for any image in the gallery, and you can access all captions from the same menu. Just don't forget to hit "Save."
To delete images or whole galleries, or to swap the order of images, hit the cog icon and choose your option. The rest is pretty self-explanatory.
#4. GIFs
GIFs works, but need to be hosted on Giphy.com. So if you want to upload your own GIF, you'd have to first upload it to Giphy.
Uploading a GIF works just like above with images, minus the ability to crop. To add a GIF to your article, just get the Giphy URL, then upload it like an image. Most GIFs are pretty small and will look odd in an article since images are left-justified, but you can open the image's settings via the downward-facing arrow and select either "Up-Scale GIF" or "Up-Scale Image" to enlarge it.
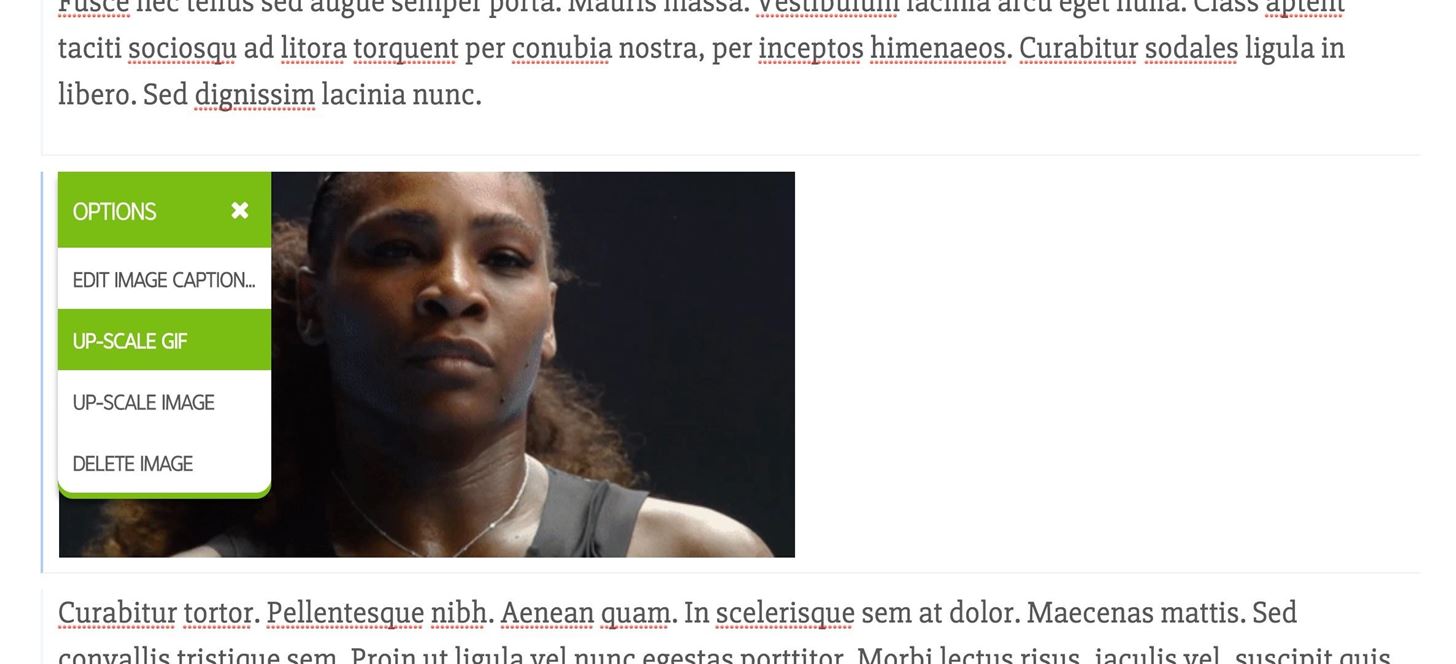
Here's what that one above looks like up-scaled:

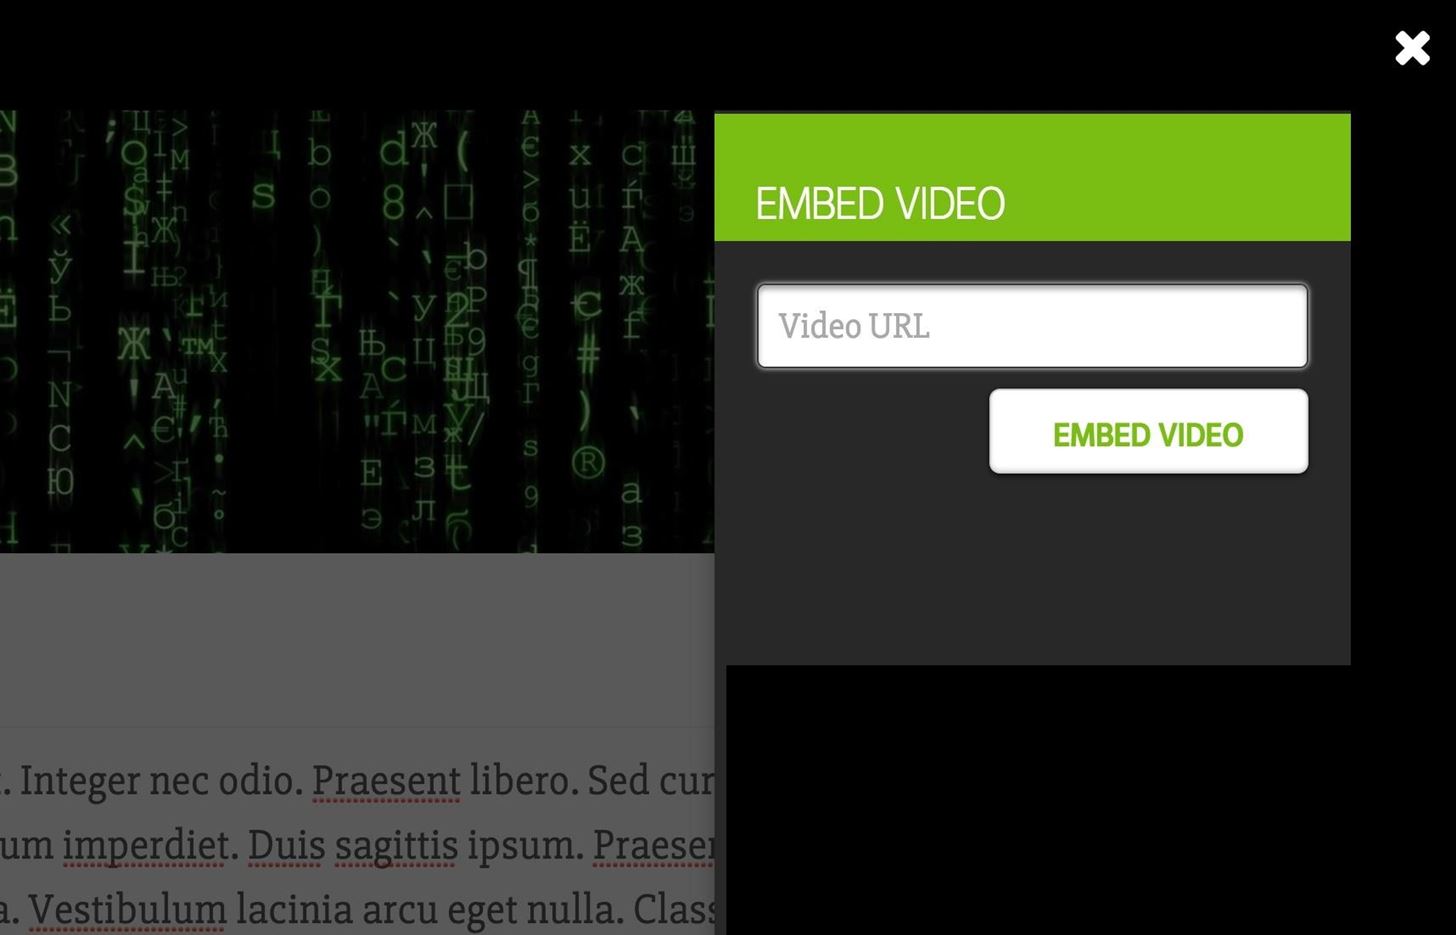
#5. Videos
Adding videos is very similar to adding images above, except you hit the filmstrip icon in the formatting toolbar, so if you need help with adding captions, making galleries, or deleting items, please see the above section. However, unlike with photo-only galleries, whenever a video is a part of a gallery, whether there's photos in it or just videos, the only view available will be the thumbnail images view.
Right now, we only support YouTube, Vimeo, and Facebook embeds. Just make sure to use a direct link to the video, and that the video is public and does not have embedding disabled.
#6. Steps & Headlines
You can add numbered steps and in-article headlines using the formatting toolbar. This is pretty easy, so not much more to say here. You can see examples of both steps and headlines in this article. Whenever you add a new step, the number will be automatically generated, so you don't have to write them in manually.
#7. Bullet & Number Lists
You can make bulleted and numbered lists. To make a bulleted list, just use on asterisk (*) or dash (-) followed by a space. It will automatically create a bullet, then type away. When you press enter/return, the next bullet will be automatically added.
- This is an example
- Of a bulleted list
The same goes for numbered lists, just 1. followed by a space.
- This is an example
- Of a numbered list
These lists will be slightly indented away from the rest of the text in your article.
Note that copying/pasting lists from a word document will not look the same as using these tricks, as they will not be indented and will not auto-create new bullets or numbers in a list automatically when hitting enter/return.
Step 4: Uploading a Cover Image
If you have an image or video in your article already, the cover image will be based on one of those. If you have a lot of images in your article, you can use the arrow buttons on top of the cover image preview to find the one you want.
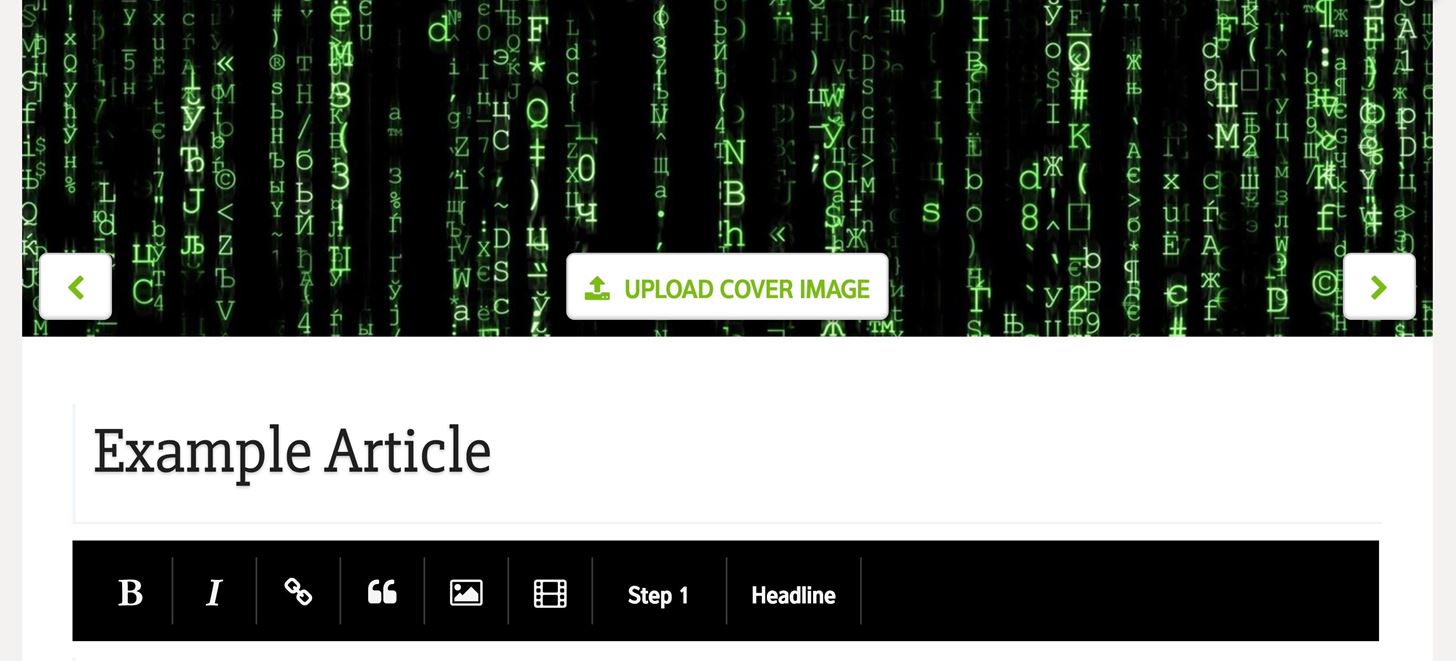
Sometimes, the quality is better if you just upload a new image that clearly depicts what the article is about, so you would choose "Upload Cover Image" to do that. The crop is automatically scaled to about 2.135 : 1, but you can move it around and resize it to get what you want.
Higher-resolution images are preferred for covers. Above 1,200 pixels wide is great, but never go below 800 pixels wide, or it will look very blurry and pixelated across WonderHowTo.
Step 5: Saving, Previewing & Publishing
You can save your draft using the "Save Draft" button at the bottom. We recommend saving often, so you don't lose any information.
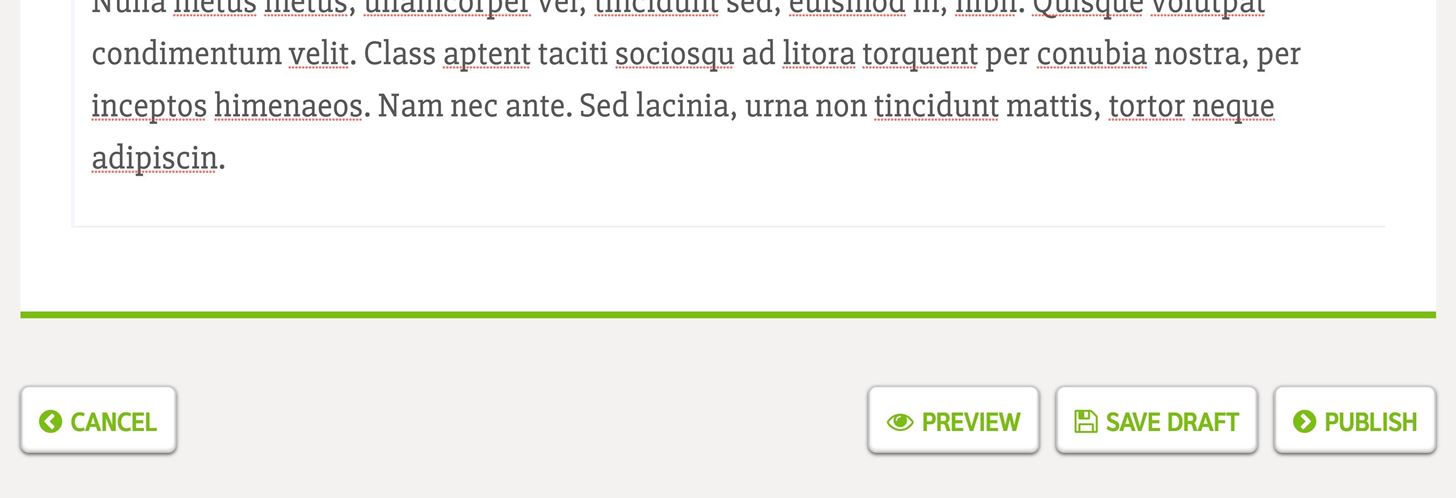
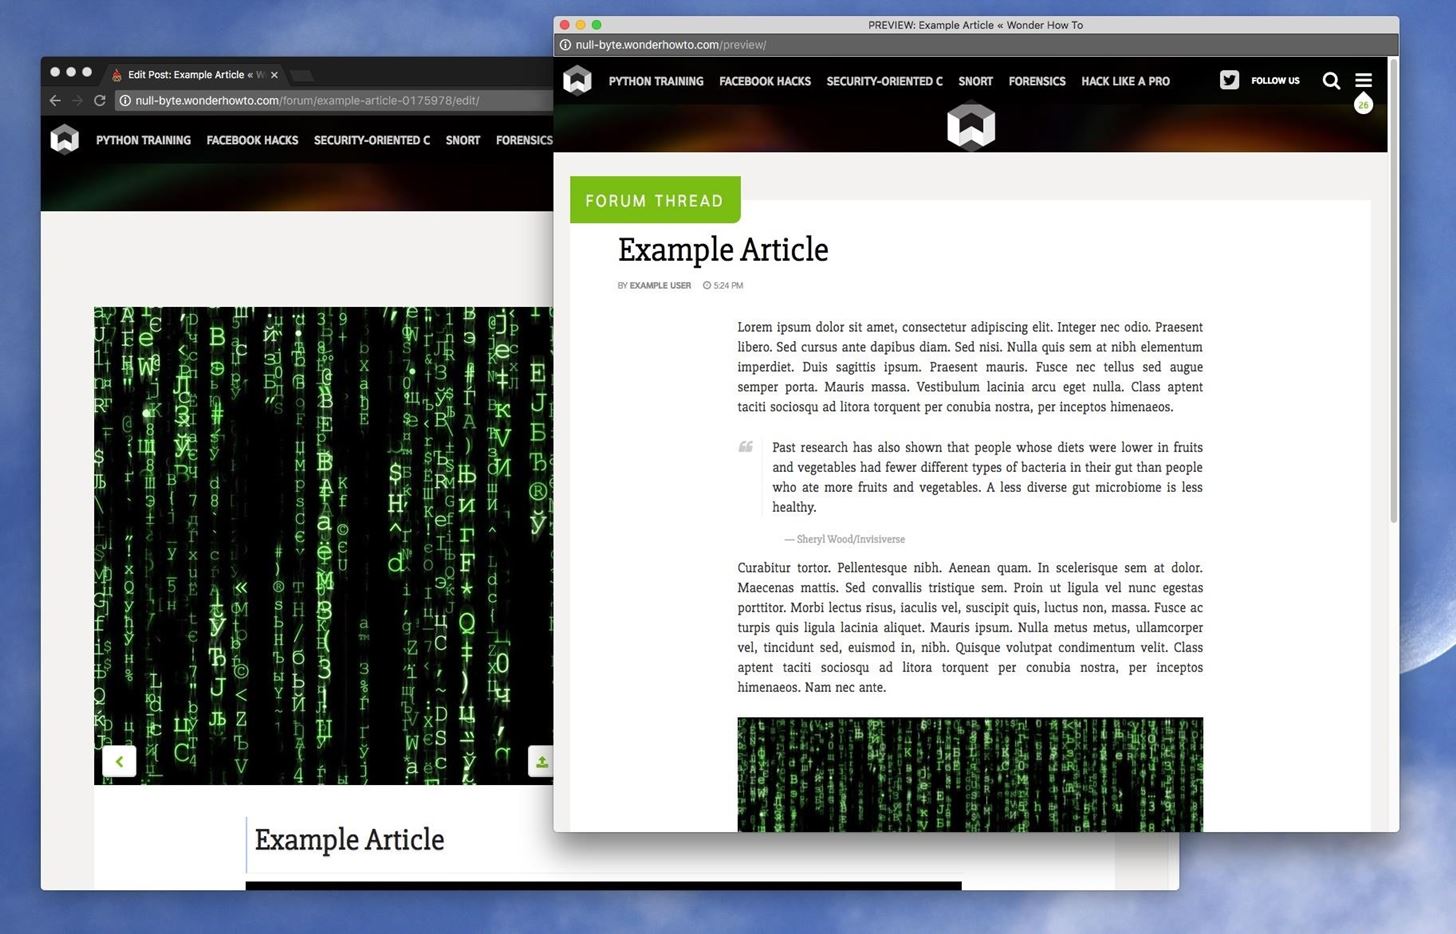
You can also preview your draft using the "Preview" button at the bottom. (You must allow popups in your browser.) This will open a new window, and will show you how all of the cool formatting options you used will look when actually published on WonderHowTo. You may keep this window open if you'd like, and it'll refresh itself every time you save your progress.
When it's all ready, just hit "Publish" at the bottom, or "Cancel" if you want to leave the article.
Step 6: Finding Your Drafts
If you already saved the article, but didn't publish it yet, it can be accessed by selecting the hamburger menu up top and by going to your "My Writing" tab from the sidebar navigation menu. It will be under the Rough Drafts heading.

Step 7: Editing Published Articles
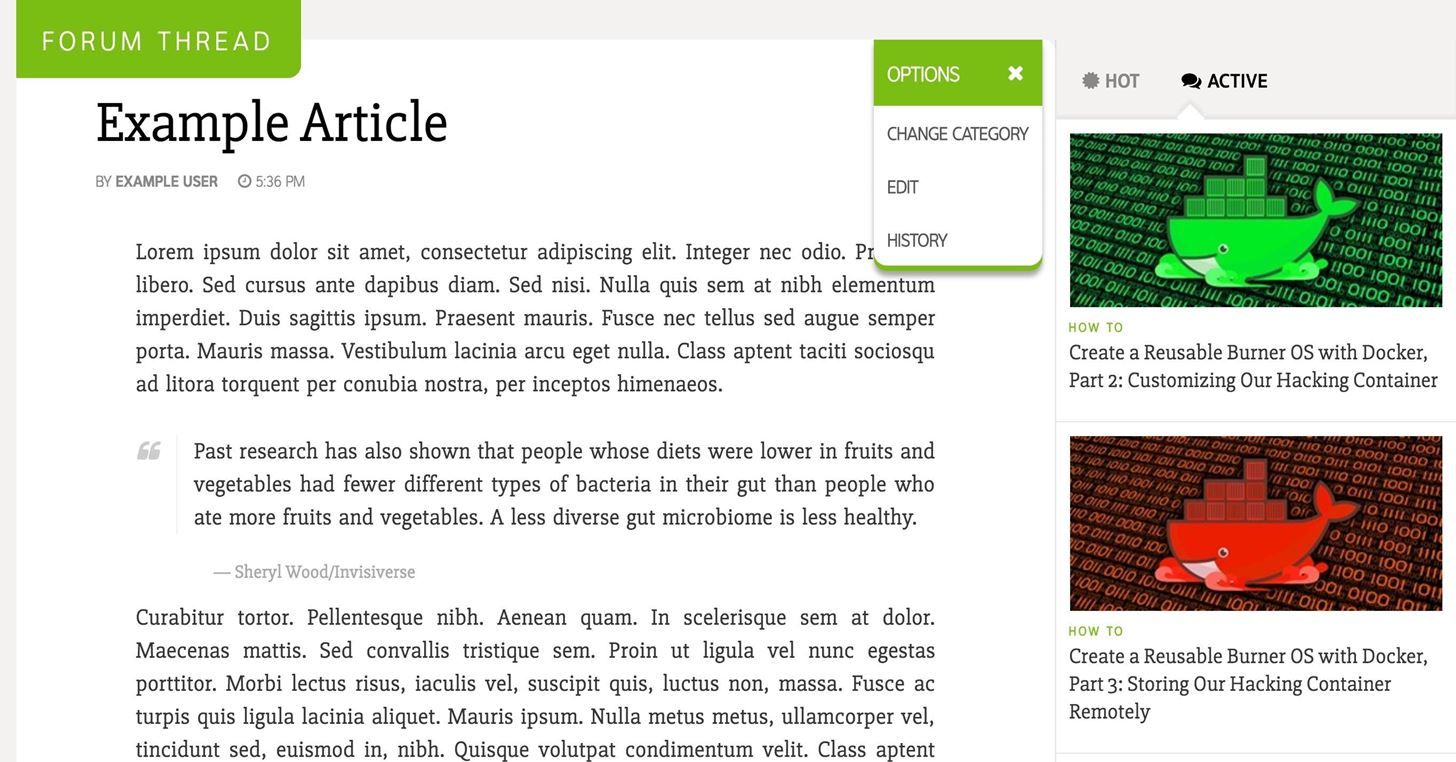
If you ever need to update a post, you can do so from the published article. On the headline of your article, there will be a downward-facing arrow on the right. Hover over that until it becomes a cog, click on it, then simply hit "Edit" to make changes.
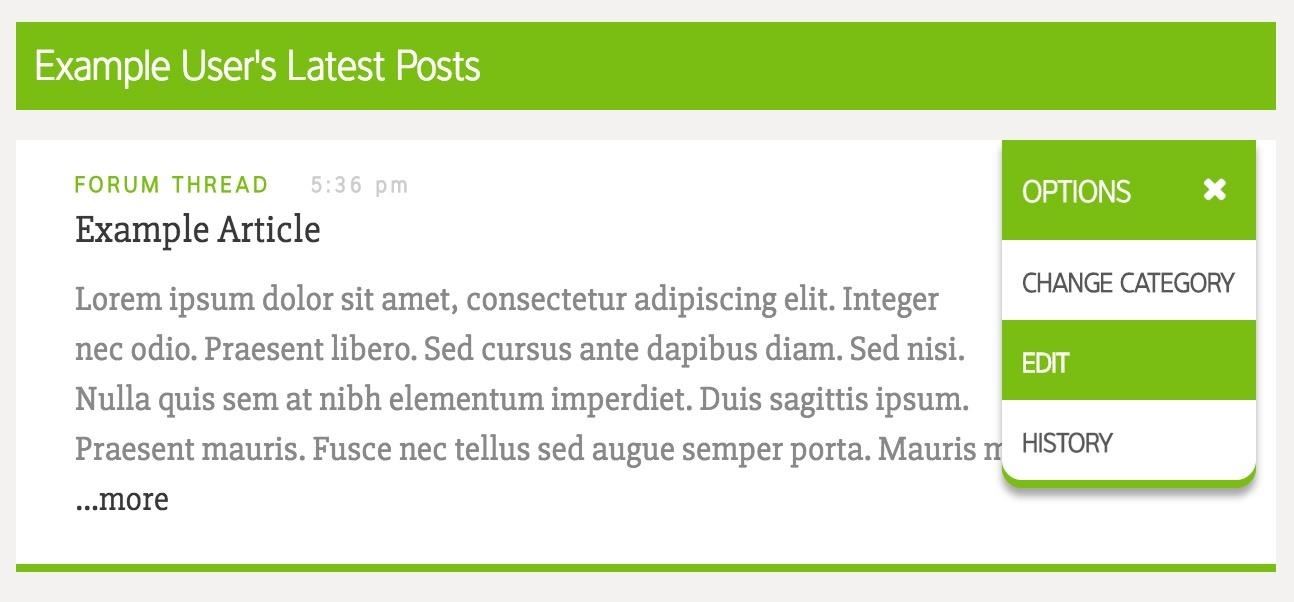
Alternatively, you can also go into "Edit" mode from your profile page on the site, and selecting the downward-facing arrow from the headline of the article you want.
You can't delete articles you publish across the WonderHowTo network, so if you'd like to delete a post for some reason, please contact someone at WonderHowTo and we'll be glad to help you out.
Step 8: Responding to Comments
Whenever someone comments on one of your articles, you should get a notification in the hamburger navigation menu in the top-right of the site. Commenting across WonderHowTo works pretty much like it does above, with most of the same great formatting tools available. That way you can have just as much fun (and be just as detailed) in the comments section as you can writing a guide or question.
That's pretty much all there is to it. If you have any questions on using the editing tools to create and edit articles, feel free to ask them below in the comments.
Just updated your iPhone? You'll find new emoji, enhanced security, podcast transcripts, Apple Cash virtual numbers, and other useful features. There are even new additions hidden within Safari. Find out what's new and changed on your iPhone with the iOS 17.4 update.


6 Comments
I am not getting the create post button, it just automatically shows zero rough drafts and silences me from ever posting. This is highly infuriating.
We recently updated permissions across the site. If you don't see the create post button on your profile, you can just add /submit to the end of any subdomain URL, like blog.wonderhowto.com/submit/ or invisiverse.wonderhowto.com/submit/. Just make sure you're in the right subdomain for the topic of your post.
I followed this advice and the site tells me i do not have permission to submit
I am not getting the create post button, it just automatically shows zero rough drafts and silences me from ever posting. This is highly infuriating.
UP
I am not getting the create post button, it just automatically shows zero rough drafts and silences me from ever posting. This is highly infuriating.
When I plan to start a new post, it shows "Sorry, you don't have the permission to submit". How can I get permission?
Share Your Thoughts